Setting up Visual Studio 2019
By Stephen Armstrong // October 9, 2019
Learn more about setting up Visual Studio 2019.
Visual Studio is created by Microsoft, and provides complete functionality for a wide range of programming languages and projects.
I personally use Visual Studio for creating video games and also for web development.
A free version of Visual Studio is provided for individuals and solo developers (such as ourselves). If you’re in a team or a large business then you may need to purchase a license.
Installing Visual Studio 2019
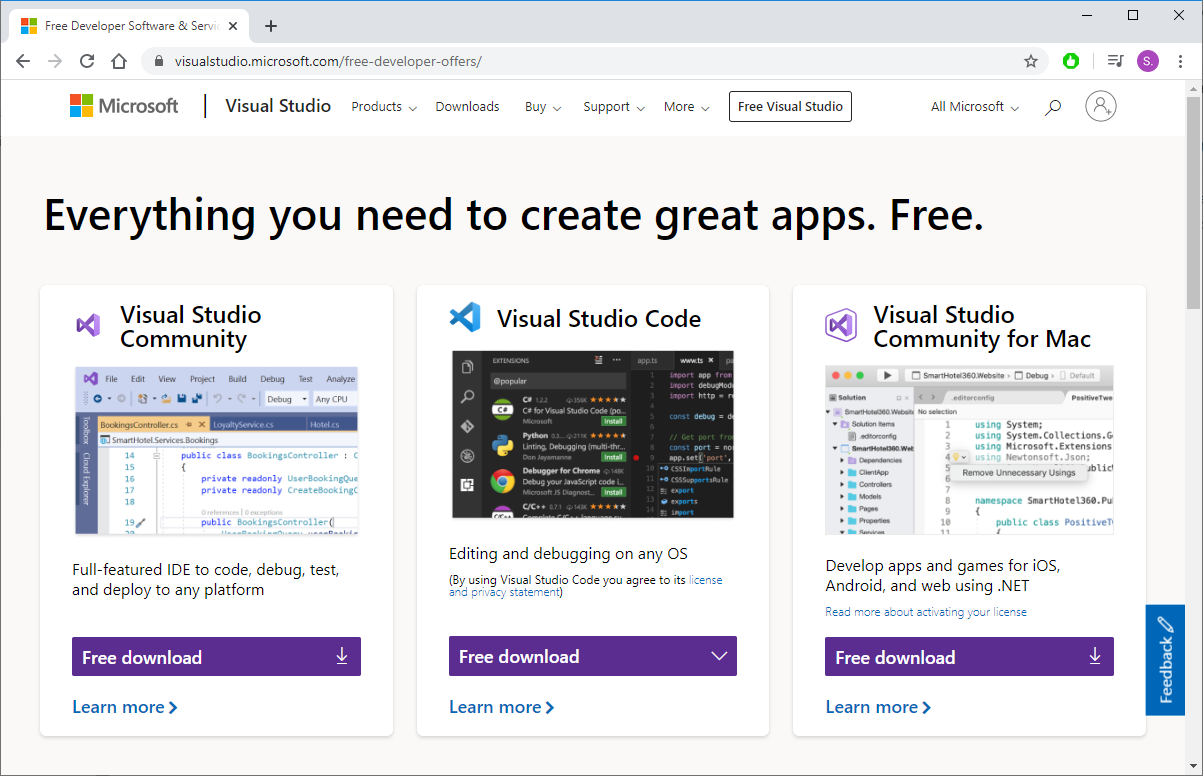
- Go to https://visualstudio.microsoft.com/free-developer-offers/
- Click Free download underneath Visual Studio Community. This will download the installer software for Visual Studio.
- Run the installer and follow the initial instructions.
- You will be prompted to add Workloads to your installation.
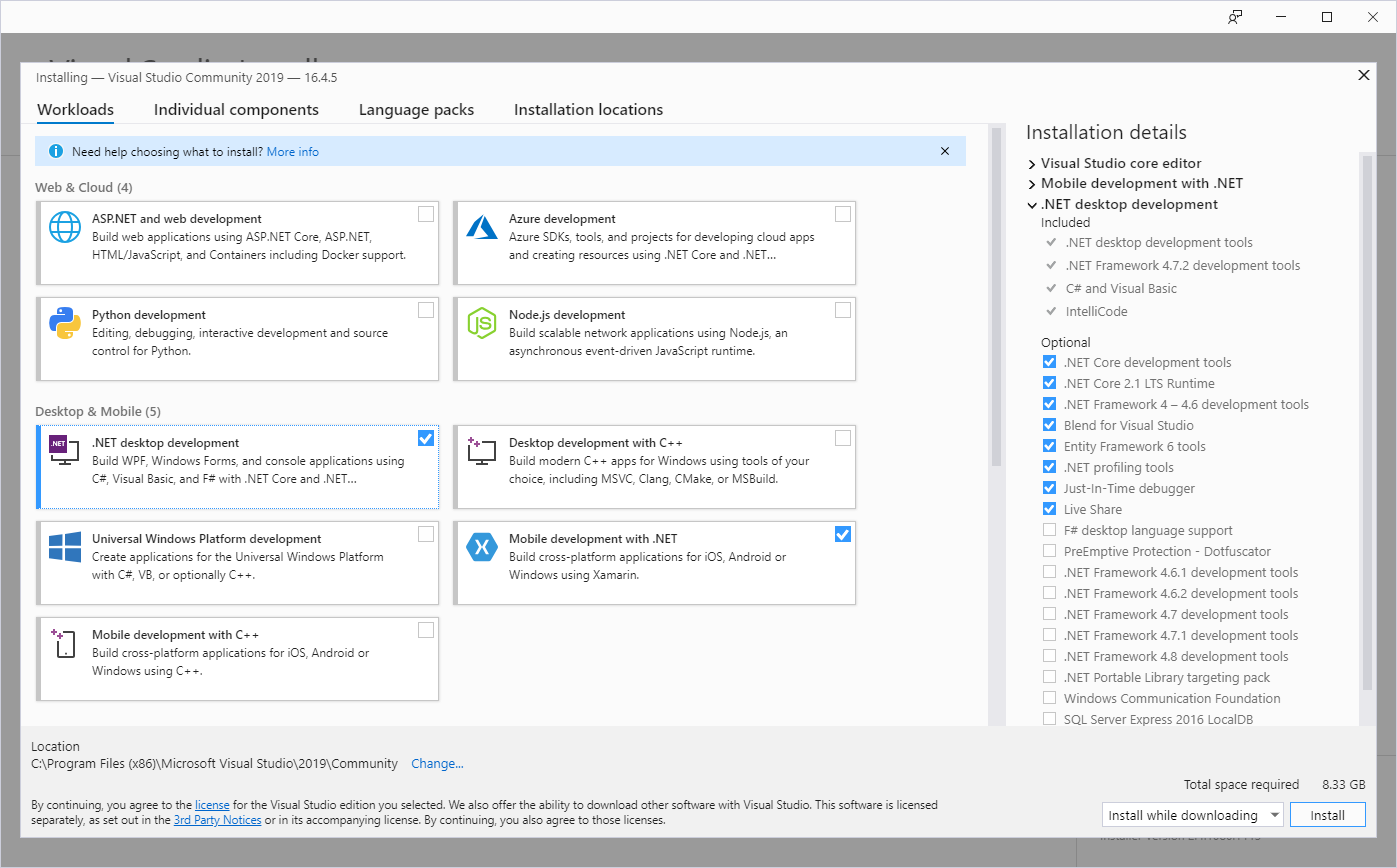
- You must select .NET desktop development. If you want to develop games for Android and iOS, you must also select Mobile development with .NET (please note the Total space required in the bottom right corner).
- Click Install.
- Depending on your Internet connection, this may take some time to download and install.
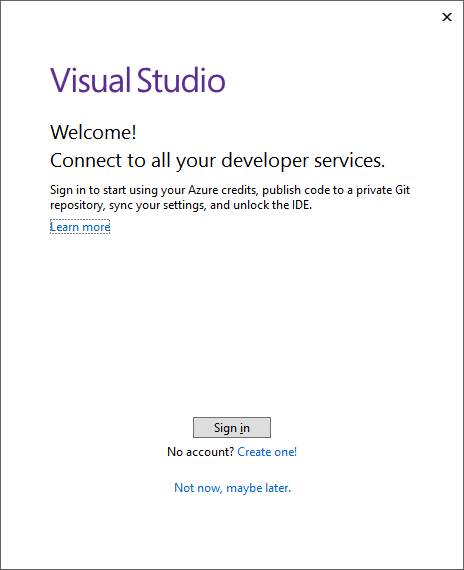
- Once finished, you will see this prompt. If you have a Microsoft account you can sign in, but it’s easier just to click Not now, maybe later.
- You’ll then be prompted to choose your Development Settings and color theme. For the purpose of this tutorial I simply selected General and Blue respectively.
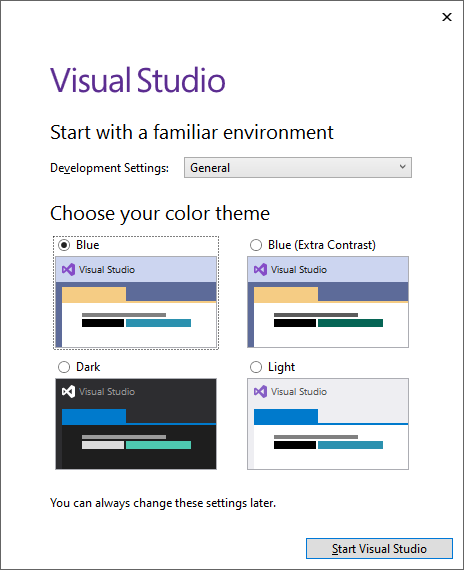
- Now click Start Visual Studio and everything will be set up and ready to use!
First time using Visual Studio 2019
When you start using Visual Studio 2019 you will see the following window.
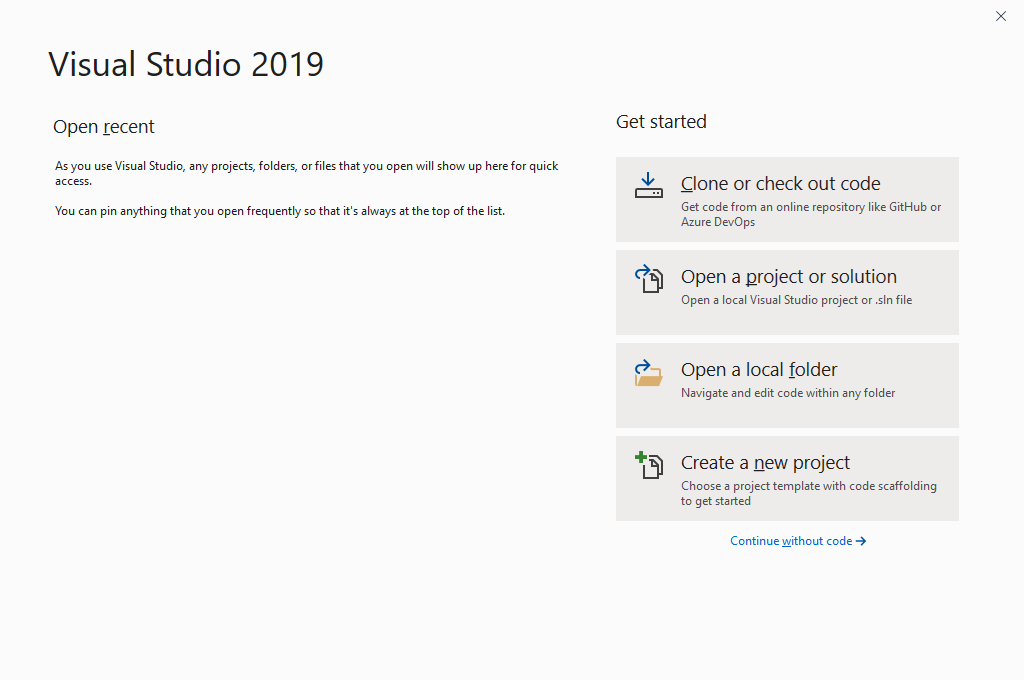
For now, click Continue without code.
This will open Visual Studio. Here is where you will enter and manage all of the code that goes into your game.
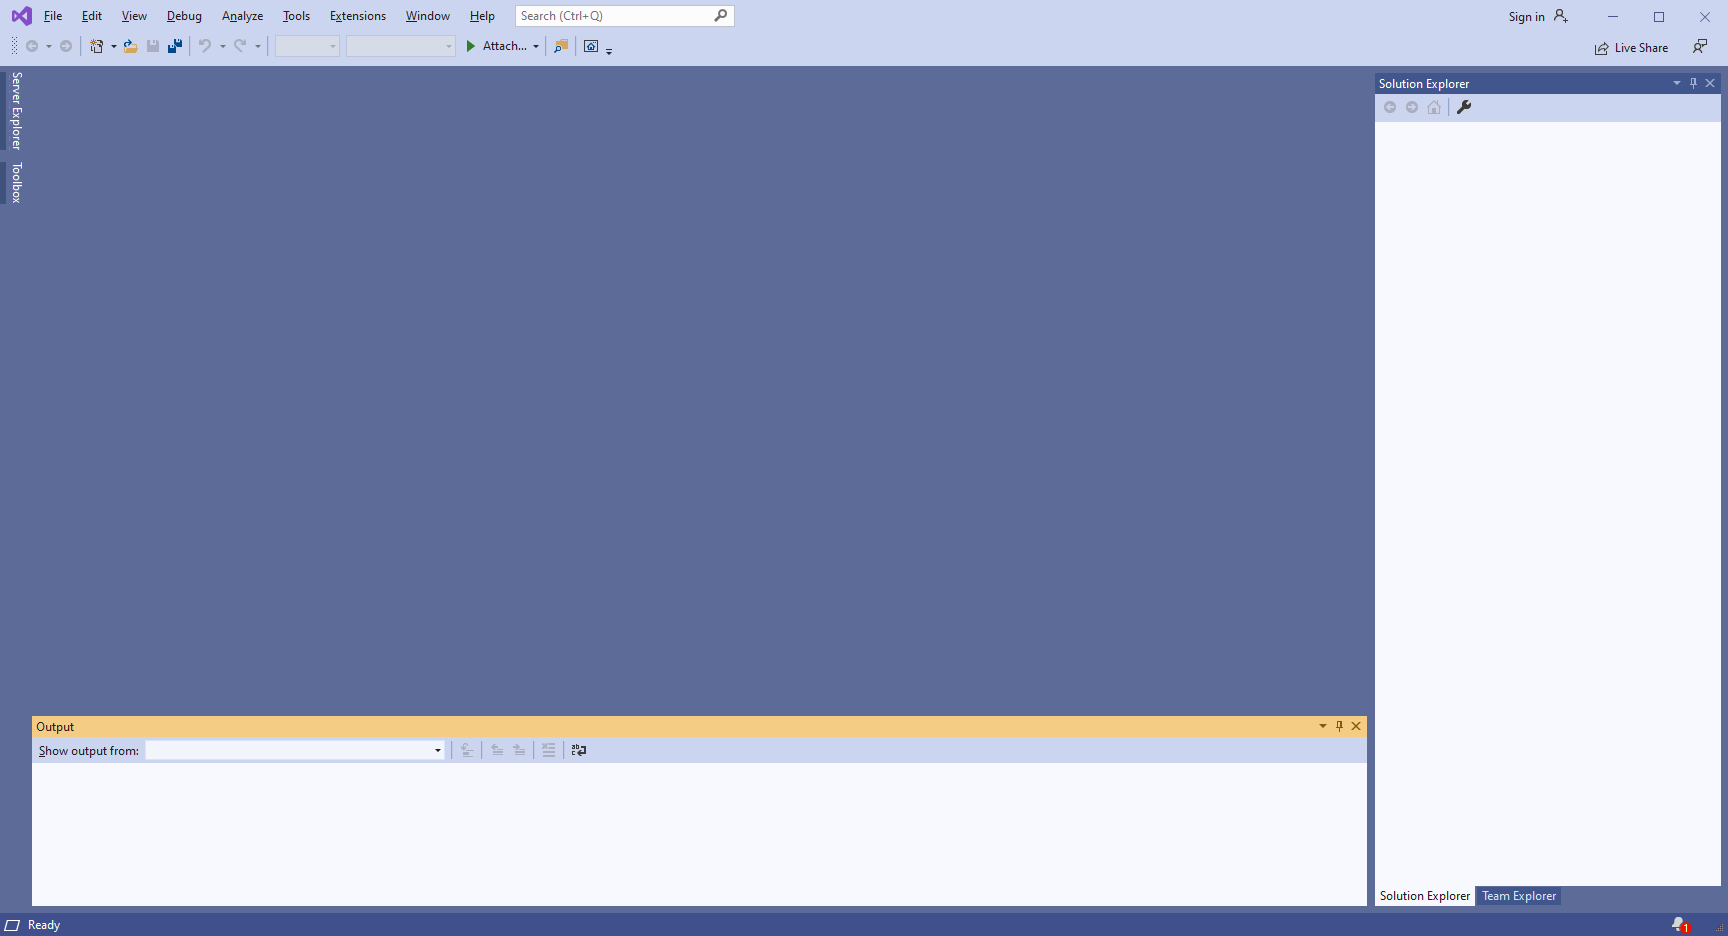
But before that, you must install MonoGame! Check out our tutorial on installing MonoGame in Visual Studio 2019: https://www.industrian.net/tutorials/setting-up-monogame/