Installing MonoGame 3.7.1 on Visual Studio 2019
By Stephen Armstrong // October 14, 2019
Learn how to install and use MonoGame in Visual Studio 2019.
Due to changes in a newer release of MonoGame, this tutorial is now out of date. Visit the following link for more information. https://docs.monogame.net/articles/whats_new.html
There are two steps in setting up MonoGame for Visual Studio 2019.
- Download and install MonoGame
- Set up the MonoGame templates for Visual Studio 2019
Download and install MonoGame
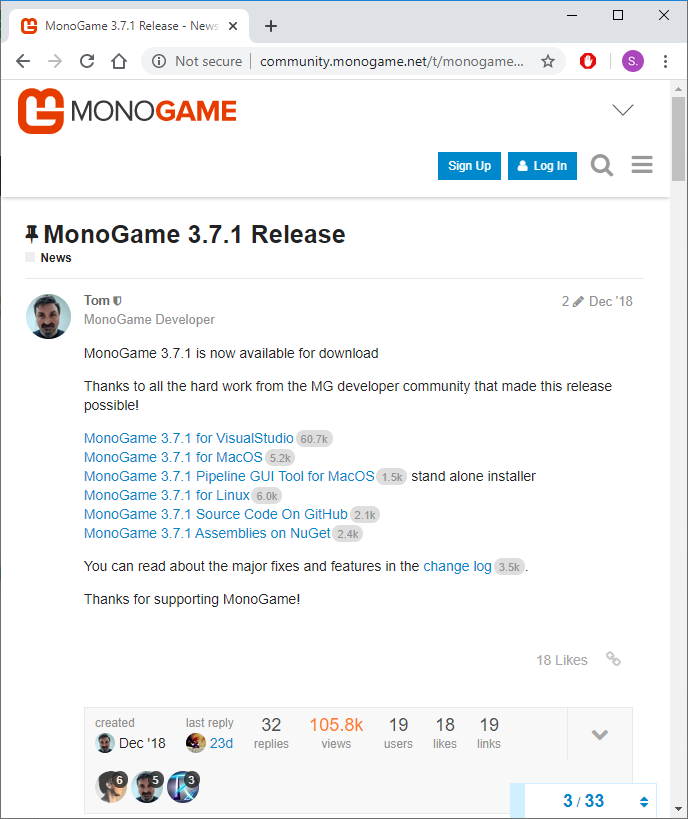
- Go to http://community.monogame.net/t/monogame-3-7-1-release/11173 (as of writing this tutorial, MonoGame 3.7.1 is the latest release).

- Click MonoGame 3.7.1 for VisualStudio.
- This will download MonoGameSetup.exe. Run this program to the end to install MonoGame.
MonoGame will now be installed on your computer, but the installer does not include templates for Visual Studio 2019.
Without these MonoGame templates, you will be unable to start a new MonoGame project.
Fortunately there is an easy workaround if you have the Visual Studio 2017 templates.
Set up Templates for Visual Studio 2019
- We are hosting the Visual Studio 2017 templates on our website. You can download the MonoGame templates from: /assets/MonoGame_Templates.zip
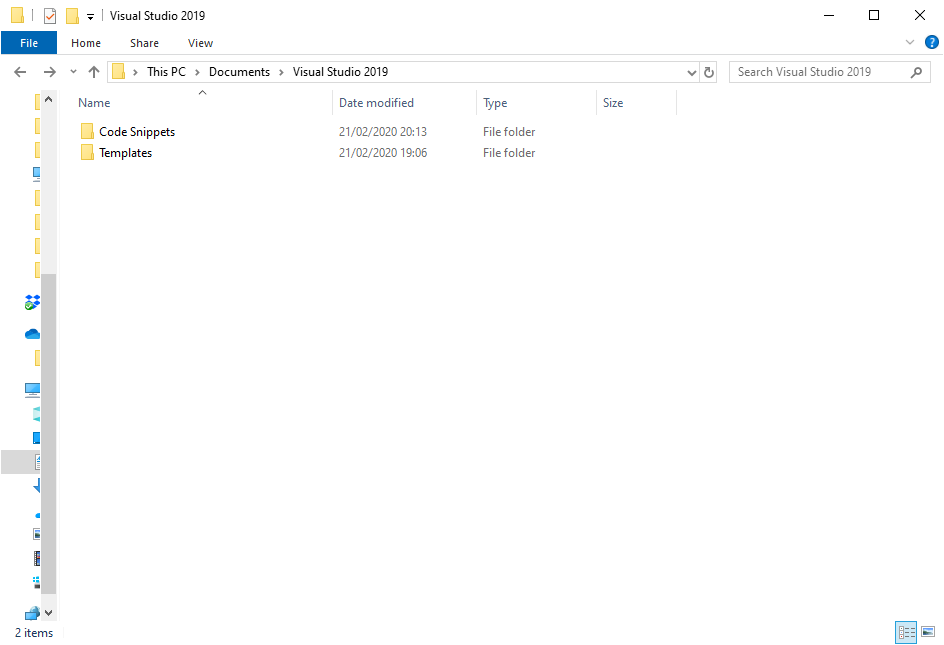
- Open File Explorer and go to This PC > Documents > Visual Studio 2019 .
- Unzip the contents of MonoGame_Templates.zip into this folder (as shown on the screenshot).

Test if the Templates are Set Up
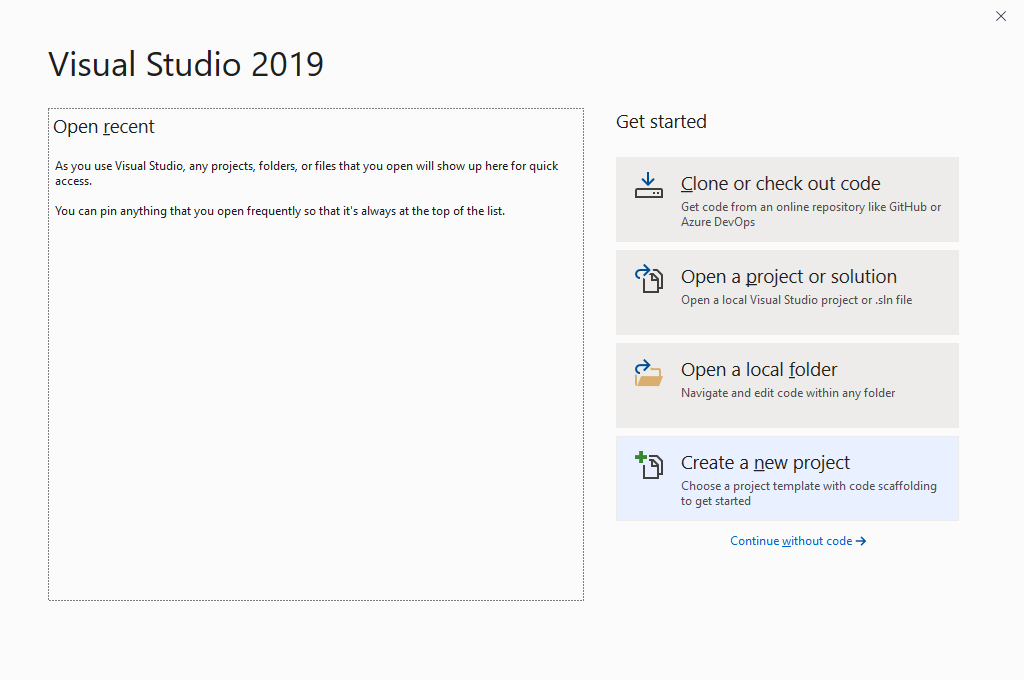
- Open Visual Studio 2019.
- Click Create a new project

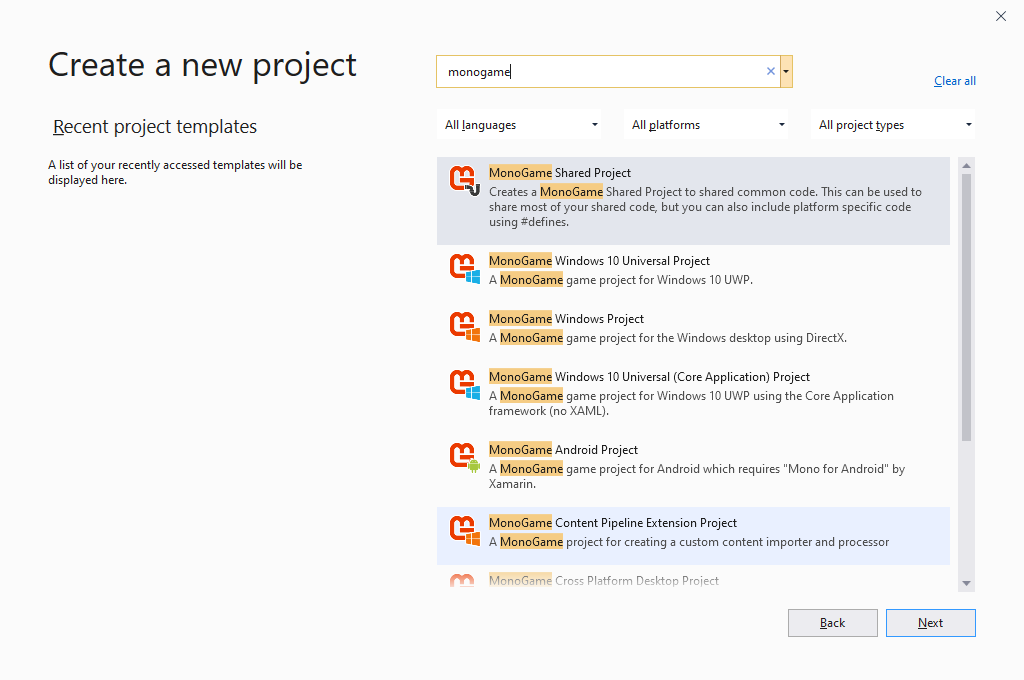
- In the Create a new project window search bar, search for “monogame”.
- If the following projects appear, then the templates have been set up and you are ready to start your first MonoGame project!
